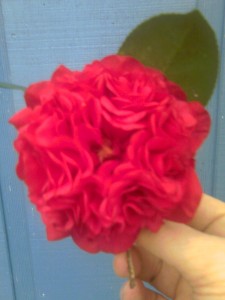
“Flowers have the greatest talent in converting an ordinary place into a magical palace!”
Planting Instructions & Planting Tips For Your Camellias
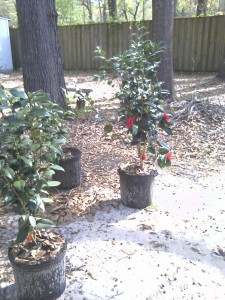
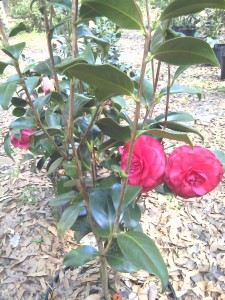
I’ve been asked many times about planting instructions, and this is a great question because camellias are different from other plants, in that, you will need to be aware of several things before deciding you are ready to plant them in the ground.
In general, most all camellias are quite hardy plants, and will give you years of enjoyment, blooming their beautiful and totally unique flowers for years to come. Some camellias are called “fast growers” because they literally grow fast, and within 30 years, more or less, can grow to be be very large, as big a tree.
Camellias are defined as ‘shrubs”, and some camellias varieties are known as are “slow growers’, in that, they are known to grow slowly. I will go into more about this topic, and also, discuss how far to plant them apart, etc, in another post in the future, but for now, will address specific planting info you’ll need to know before planting your camellias.
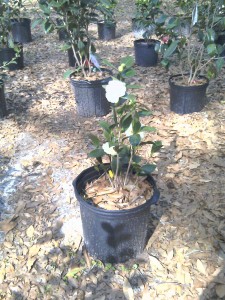
No.1). Do not plant them too deeply! Remember your camellias will settle/sink somewhat into the ground naturally with time, so keep this in mind. Keep the top portion of the plant, around the top circumference, about a half of an inch, or so, above the ground, so the top area of the root of the camellia is above the ground. Depending on how big your camellia root ball is, dig your hole about 6 inches wider than the total size of the root ball. This will allow for the camellia’s roots to expand.
No.2 ). Be sure to plant your camellia in an area of your yard that gets partial sunlight. This is very important! Planting camellias in an area with constant all day, full sunlight, will put a strain on your camellias health, and is not recommended at all, in general. You don’t want to plant them in an area that is total shade, and no sun, as they must have some sunlight to bloom.
It’s always best to always plant camellias in an area of your yard that gets some direct sunlight, but sunlight that is primarily filtered sunlight. Some direct sunlight, such as 1/3 of the day should be okay, and I have many of mine in areas like this, with some of them getting about 1/4, to sometime a 1/3 of the day’s sunlight, but as a rule, full sunlight, all day long, is simply way too much for camellias, and is not good.
No.3). Right before planting the camellia, I gently slice in on each side, front and back of the root ball (a hatchet works well), going in about 1/4 of an inch deep. Doing this, breaks up the often tightly wound up roots, and allows for the roots to expand once it has been planted in the ground.
No.4). I personally recommend adding some Peat Moss to your soil when planting. I usually add about a cup (8 ounces) or so of peat moss and mix it in with the top soil I use. I also add in some dead leaves for mulch. I seem to, no matter what season it is, always have plenty of leaves around on the ground (since I hardly ever rake my yard), and dead leaves work well as mulch. I add all of this, the peat moss, and leaves, in with the soil, and then lay the camellia root ball in the hole so that it lays flat on top of it, then fill in the sides with soil. You can also use peat moss to feed your camellias during the year. I will talk more about feeding, and what I use, in another post.
No.5). After planting your camellia(s), be sure to water them at least every 4 or 5 days or so, especially if there has been no rain, which lately here in Tallahassee, Fla, is something we have not had to worry about! But it is important to water them generously several times a week if possible, particularly when it has been hot and dry. My advise is to continue to water them for several years like this until their root system has been fully developed. The exception to this, of course, is if you have had a lot of continuing and consistent rain.
Good luck, and happy camellia planting!
All Camellia Photos Shown Are Available
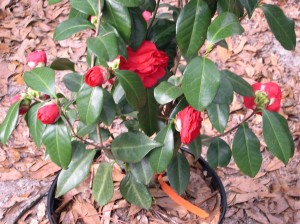
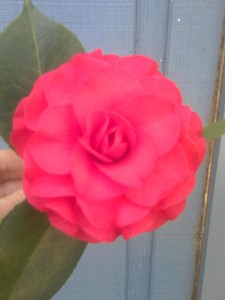
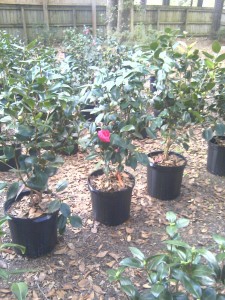
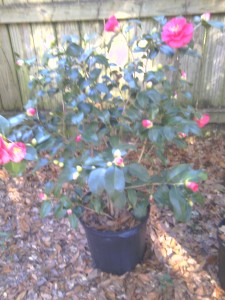
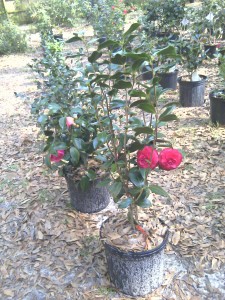
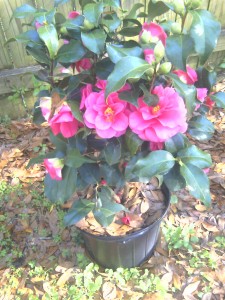
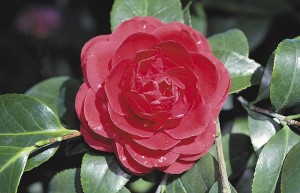
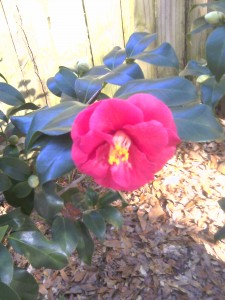
All camellia photos shown on our blog, and in our photo gallery, are currently available. We have a great selection of colors to choose from, and with over 30 different camellia varieties to pick from, and growing, it won’t be hard for you to find the color you want and have been seeking. If there is a particular camellia that you have been trying to find, and/or hunting for, please let me know and I will do my best to try to find it for you.
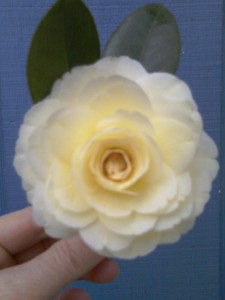
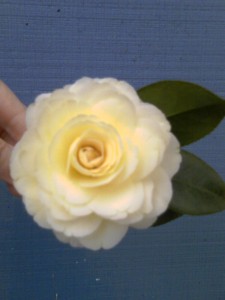
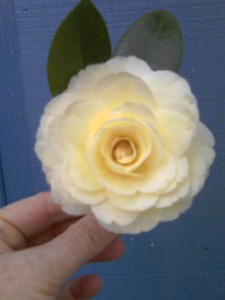
Our solid yellow camellia, the ‘Lemon Glow’, is still blooming. All our yellow camellias have been blooming since December! We still have some yellow camellias in stock, but hurry, they won’t last long, they are our top seller!
Tips For Keeping Your Camellias Healthy, Happy & Blooming, Part 1
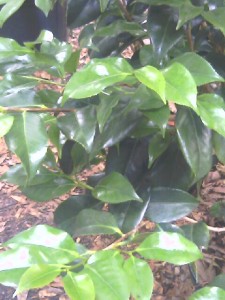
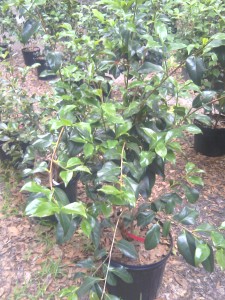
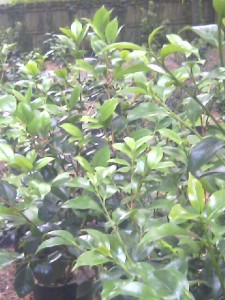
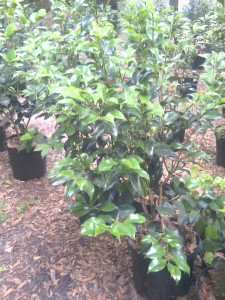
Now is the time you should be seeing new growth on your camellias. Starting over a month ago, or @ two months ago, depending where you live, new growth should have began slowly appearing on your camellias.
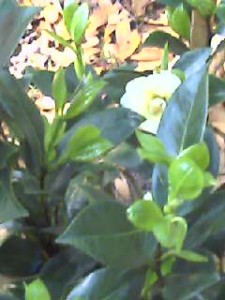
It should be somewhat obvious for you to now see the light green color of the new growth on the tips of the stems on all of your camellias. I’ve attached several photos of what new growth looks like, just in case you are new to growing camellias.
A common pest to look out for is Spider Mites. They are very common, and are literally blow in with the wind. They eventually can kill your camellia if you don’t know the signs of what to look out for. Typically, your camellia will start by not looking well, the leaves may appear lackluster and droopy, and appear with brownish spots, and/or silver looking spots on the leaves. You must act quickly when you notice this telltale symptom when it first appears!
To ward off and kill Spider Mites, and also other pests that feed off of them, I highly recommend and personally use a product called, “All Season Oil” by Bonide. It’s organic, and safe to use on your plants, and around your home and pets, just follow the directions in the booklet attached to the back of the bottle.
To start off, you’ll need a quart size or large spray bottle, and @ 4 to 5 Tablespoons of this product added to a gallon of water. Always shake well before using, and spray very liberally, saturating all the leaves on the camellia, starting at the bottom of the base through the top portion. Repeat spraying again in a week or so.
Thoroughly spray the back of the leaves, coating well, along with the front of the leaves. Spider mites hide on the back of the leaves, and begin their webs there, building their white, chalk looking webs. The oil works by smothering the pests, and also kills other pests that like to eat, and can eventually kill camellias. The pests will also spread to other camellias sitting, or planted nearby, so it’s best to treat all of them together to be sure that they are all protected and safe from being affected.
The spider mites that I have seen are solid green in color, but they can be different colors ranging from brown, red, yellowish, and green, depending on the season. They are sneaky little things that actually blend in very well on the plant, so it’s easy not notice they are there on your camellia slowly doing their damage. Therefore, it’s good to look closely at your camellias regularly, and pay attention to the color of the leaves on them. The leaves should normally look shiny, healthy, and glossy, and either be a dark or medium color green, depending on whatever variety or species you have.
I’ve also noticed a total bonus using the ‘All Season Oil’ in that along with killing the pests, there really seems to be something almost miraculous about how quickly this horticulture oil works after spraying them to promote new growth on them! I honestly don’t know what, or why, it works so well in helping to promote and speed along the appearance of new growth so quickly after spraying, but it does. So remember, spraying some kind of horticulture oil on your camellias semi-regularly is a must to help keep camellias pest free, healthy and happy.
Currently All Camellias Shown Are Available
All camellias shown in our photo gallery are still available just in time for Mother’s Day! Our best seller, the beautiful, solid yellow ‘Lemon Glow‘ (seen below) is also available now. The yellow Lemon Glows are still blooming, but won’t be for much longer. We have a variety of colors of camellias to choose from, and they make perfect gifts that can be enjoyed for a life time to come! Call now to schedule your appointment.
What is it About Camellias That Makes Them So Special?
I was thinking about this, and for me it’s many things:
Number one, they are fairly hardy plants. As long as you water them, check on them periodically for common pests and diseases ( I will address these issues later in other posts in the future), and occasionally feed them, they will continue to grow and bloom beautiful flowers for you to enjoy every year.
Number two, camellias have varying sizes and shapes. Some get really big, tree like big. Some stay small, shrub like small. You can shape them with shears anyway you prefer. I personally like their natural shape, but pruning is always fine to do if needed, just keep in mind that It’s always better to prune after the blooms have died off, and/or if there is a dead branch, limb or leaves on it.
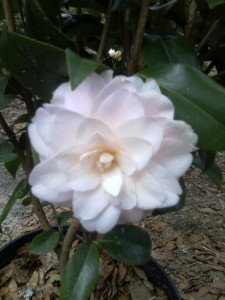
Number three, many camellias, called sasanquas, will start blooming beginning in the early Fall and through the Winter months. I always found this amazing when I first discovered camellias! Flowers blooming happily throughout the morning and day when it is 40 degrees and raining! Before learning about camellias, I’d thought all flowers just died, or went into a dead like hibernation state during the Fall and Winter months. Not so. Not with with camellias! We currently carry several beautiful sasanquas varieties now. One of personal favorites is called, “Chisato-No-Aki“.
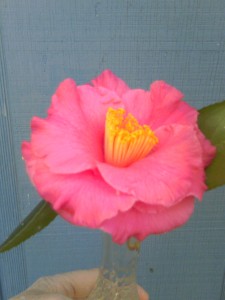
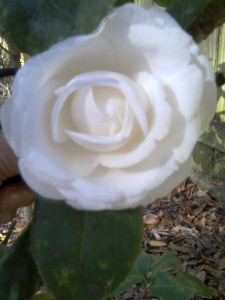
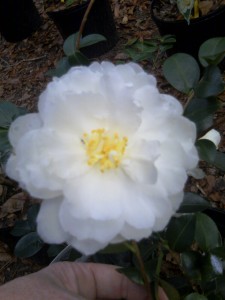
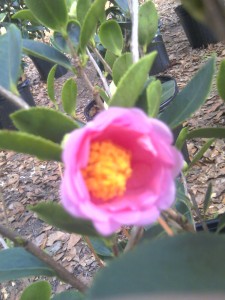
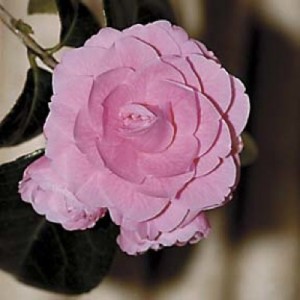
It’s a gorgeous white, and the flower is a medium size peony-formal shape. One of my other sasanquas favorites that we now carry is called a “Frost Princess“. It’s a lightish pink color with a yellow stamen in the center, similar to the Chisato-No-Aki. See my photo below.
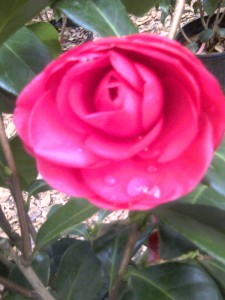
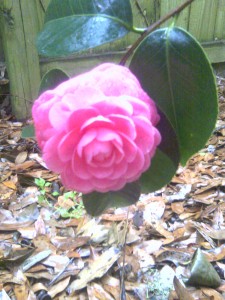
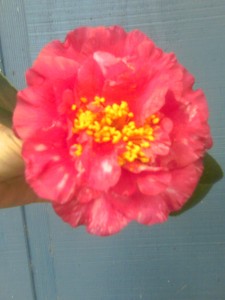
Number four, the incredible variety of colors! With camellias, you get a huge selection of varying shades of reds, pinks, whites, red and white variegated, pink and white variegated, striped colors, yellows, solid colors, some have spots of a different color on the bloom. Some camellias have almost a purplish hue, some white camellias have a pinkish hue. The color wheel of varying shades is amazing! They are all so very unique. Just like people. 🙂
Website Under Construction
Just wanted to let everyone know our website is still under construction. The good news is that we should have it completely tweaked and finished by hopefully next week. Thank you for your patience!
More Photos
Just living is not enough… one must have sunshine, freedom, and a little flower.
~ Hans Christian Anderson
More Photos
Yellow Camellias
All my yellow, ‘Lemon Glow’ japonica camellias are blooming, and look beautiful!
The ‘Lemon Glow’ usually begins blooming beginning around late December to mid-January months, and will continue blooming until the early to mid Spring season. They are slow growers, meaning they don’t glow quickly, and are relatively small in size. The flower size is @ 3 to 4 inches across, and they are a double formal shape.
They are all healthy, and cold hardy, and ready to go to new loving homes. 🙂 I will post more photos of all of my camellias soon.

